Getting Set up with Synapse Power-Ups
by savage | 2024-05-20
Synapse Power-Ups are Storm Services and Packages that analysts can use to "supercharge" their analysis through adding additional features and functionality to Synapse, such as the ability to connect to and import data from an external or third-party database and the ability to create, manage, and run YARA rules within Synapse. The Vertex Project is continuously developing new Power-Ups and maintains a list of those that are currently available here.
Rapid Power-Ups are ready to install and use out of the box, and do not require additional devops support, although those that connect with third party data resources may require the user to obtain and configure an API key for that resource. In this blog, we’ll walk users through installing a Rapid Power-Up, using the Synapse-AlienVault Power-Up as an example, and configuring it to use their API key. We’ll also briefly cover how users can leverage the Synapse-AlienVault Power-Up to query AlienVault and bring data into their Synapse instance.
Installing and Configuring a Power-Up in Synapse
Sign up for an API Key
Many of the Rapid Power-Ups require the use of an API key to query the resource and pull in data. Registering for an API key typically requires the use of an email account and the creation of a login for that resource. Follow the steps below to register for an AlienVault API key:
Use the registration link to sign up for an AlienVault account: https://otx.alienvault.com/
Once you have created an account, go to your account settings and retrieve your API key.
Install the Synapse Power-Up
Now that you have your AlienVault API key, you can switch over to your Synapse Enterprise instance and install it by following the steps listed here:
From your Toolbar, select the Power-Ups Tool:

In the Power-Ups Tool, click the AVAILABLE tab:

Locate the Synapse-AlienVault Power-Up. (You can use the Search bar to easily locate it):

Click the Add button:
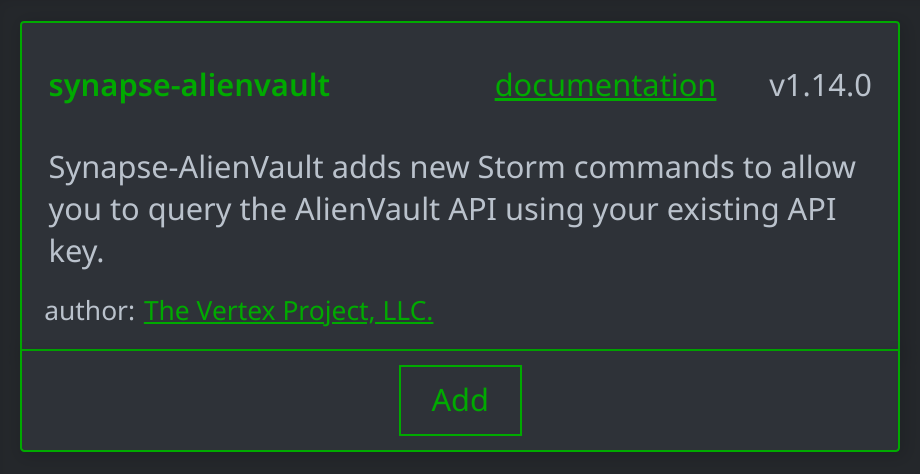
Click Confirm to continue:

You will see a progress window while the Power-Up is installed, followed by a pop-up ("toast") message when the installation completes:

Click the Installed tab and confirm that the Synapse-AlienVault Power-Up appears under the Installed tab:
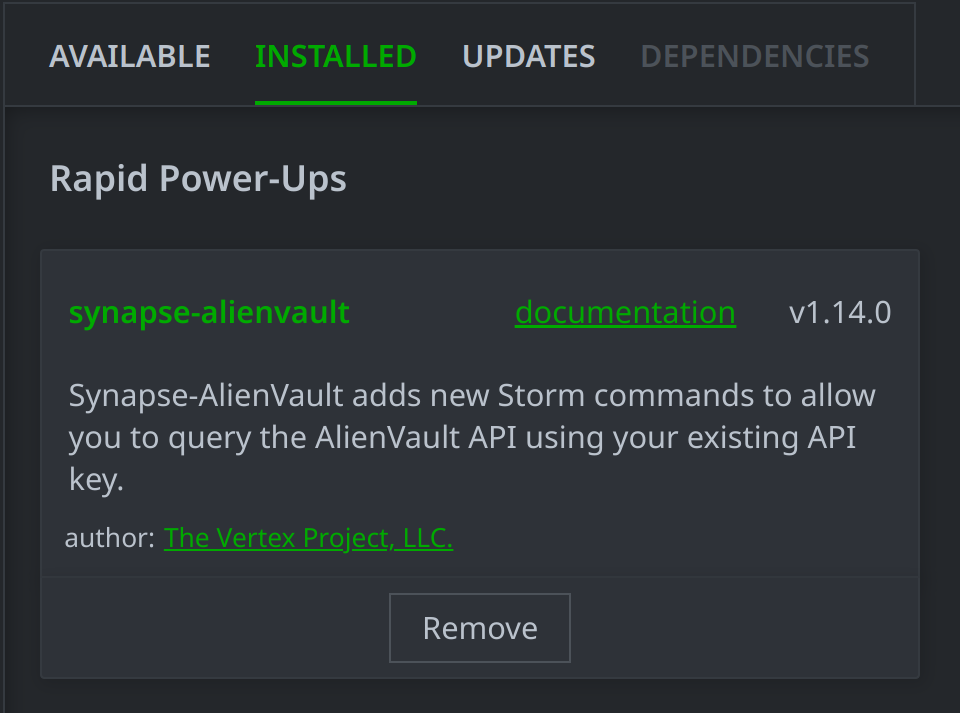
Note
Use the UPDATES tab to install any updates when they are released. Demo instances are updated weekly (usually between Monday evening and Tuesday morning) with any new releases. You can install any other Power-Ups on the AVAILABLE tab if you want to test them. Some Power-Ups may require API keys (free or paid) and additional setup; refer to the Power-Up documentation for details.
Configure Your API Key
Set your API key by navigating to the Console Tool and entering the following command in the Storm Query Bar (pasting in your AlienVault OTX API here where it says <your_api_key_here>) and pressing Enter to run the command:
alienvault.setup.apikey *<your_api_key_here>*
Leveraging Synapse Power-Ups
There are two main ways that users can call Synapse Power-Ups:
Node Actions
Many Synapse Power-Ups have accompanying Node Actions automatically added with the installation of that Power-Up. You can view the Node Actions for each Power-Up in the Admin Guide of that Power-Up’s documentation (accessible through the POWER-UPS tab in the Help Tool).
Users can call a Power-Up to enrich a node by lifting and right-clicking on the node in the Research Tool, selecting actions > and then choosing the Power-Up and available Node Action. In the example below, we can see the two Synapse-AlienVault Node Actions that we can run to query the AlienVault OTX pDNS API and ip API endpoints for information about our inet:ipv4 node:
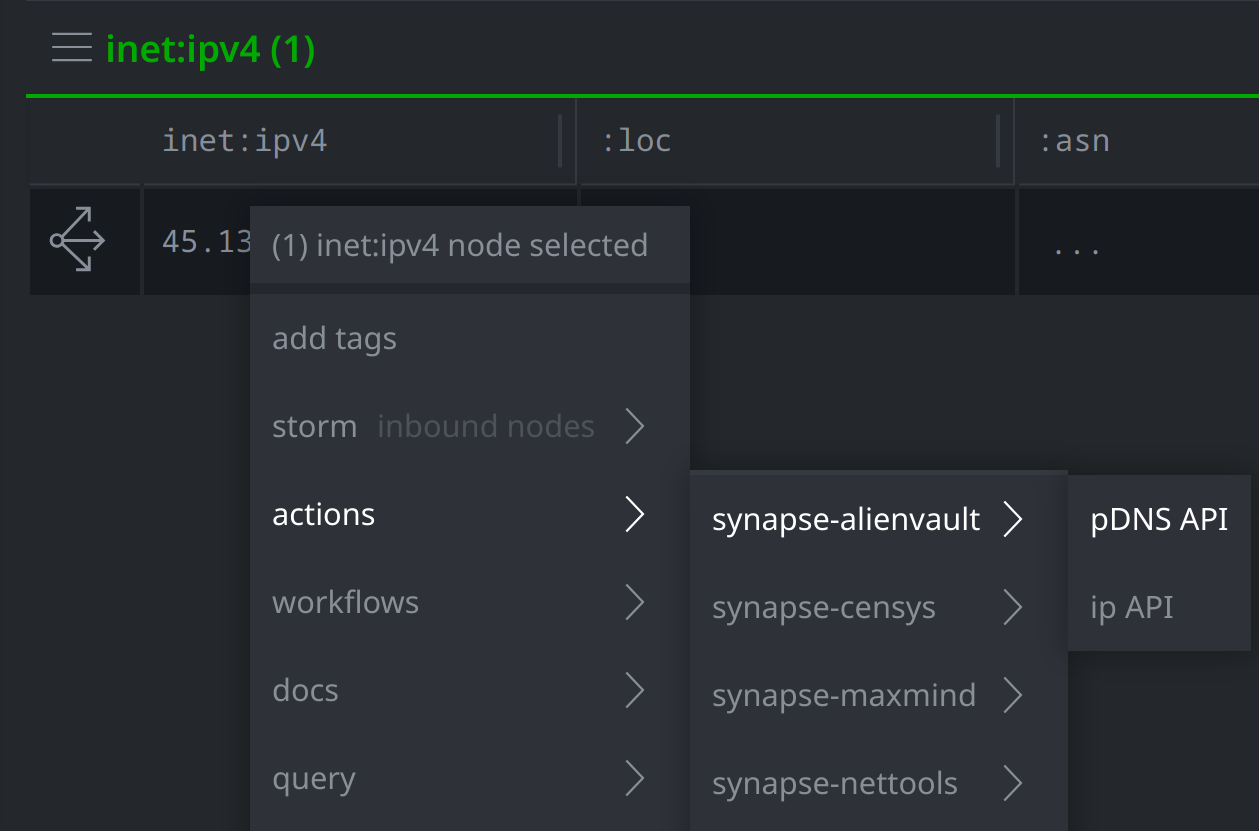
Selecting one of the Synapse-AlienVault Node Actions will query that endpoint and ingest and model resulting information in our Synapse instance. A pop-up message in the upper right corner of the window will notify the user when the query is complete:

Synapse will also note the amount of changes made in bracketed green text beneath the right side of the Query Bar:

We can then view the additional data brought in by running the node action by using the Explore button to explore out from our initial inet:ipv4 node:

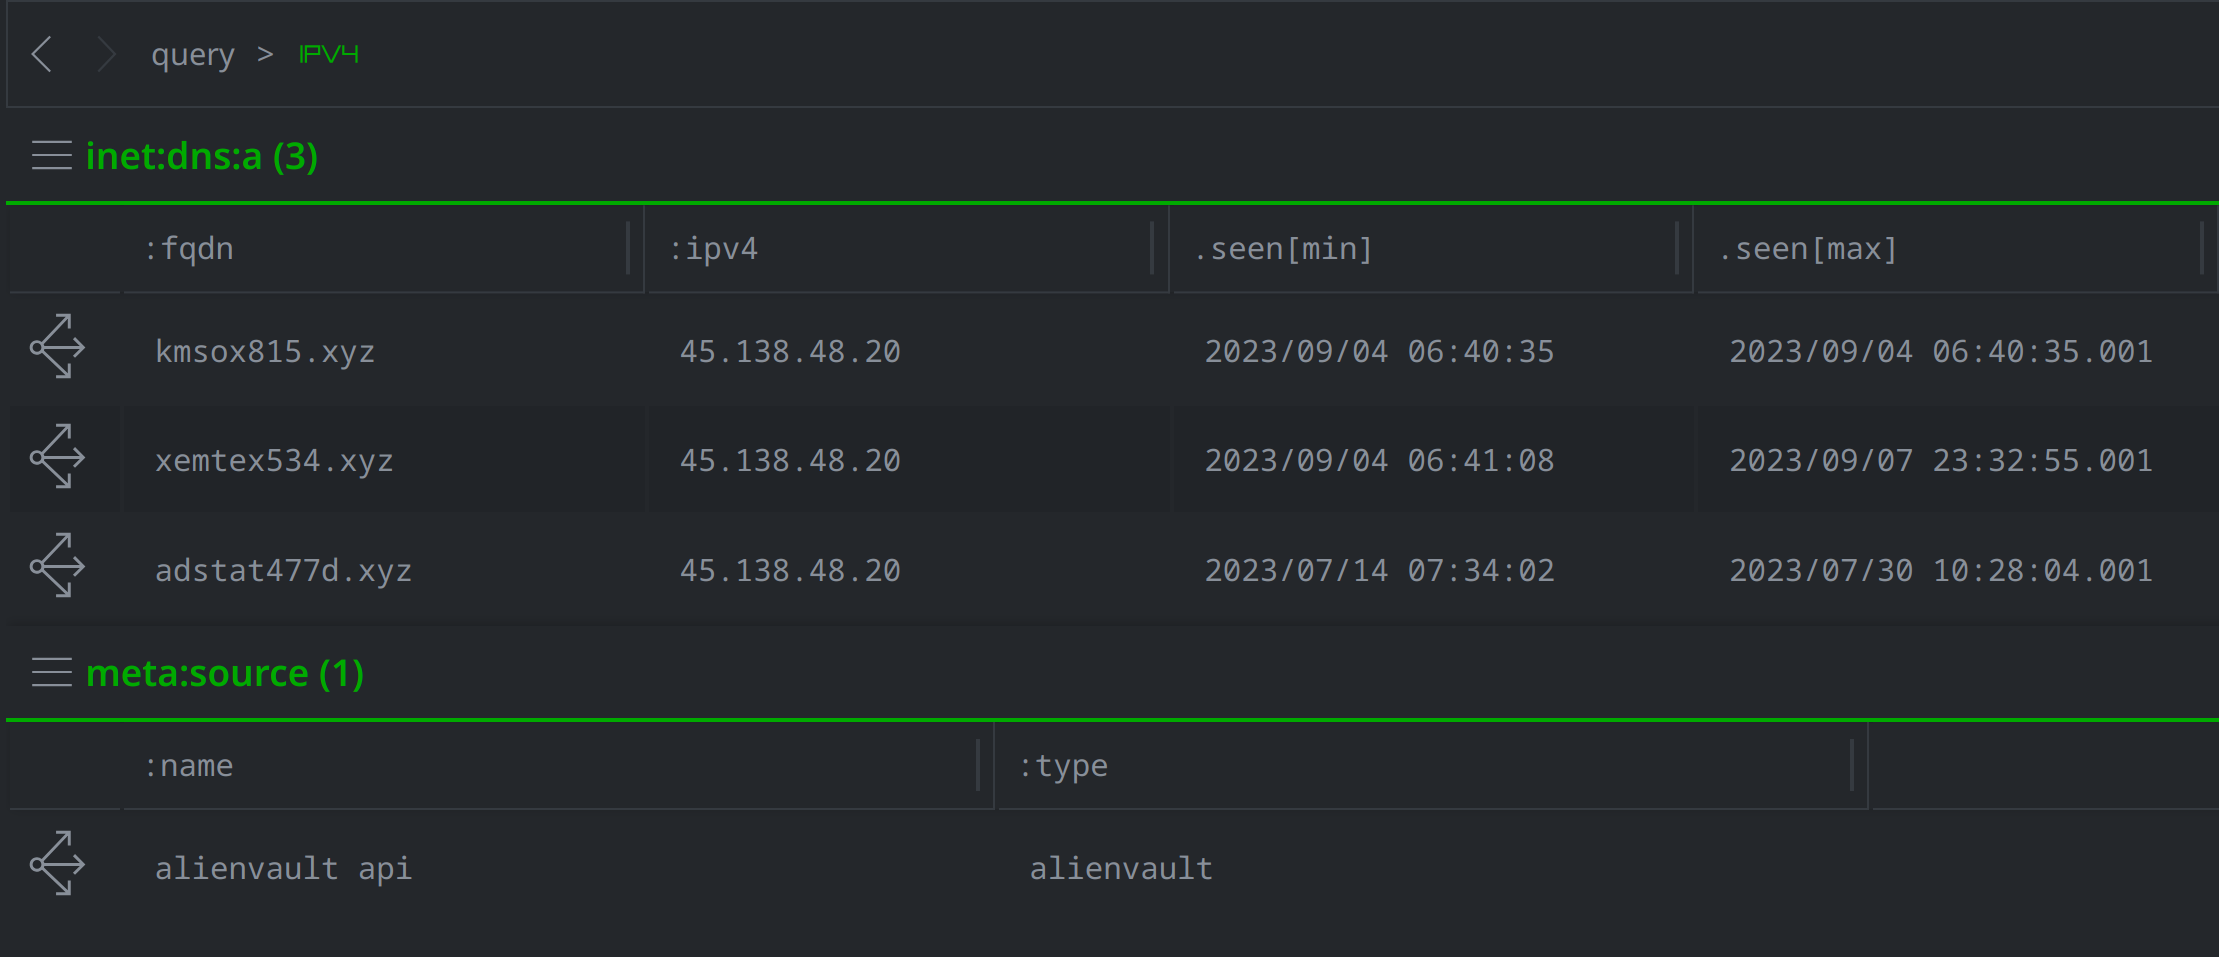
This brings us to additional, related nodes - in this case inet:dns:a records brought in by the Synapse AlienVault Power-Up, and a meta:source node noting that the data is from the AlienVault API:
Storm Commands
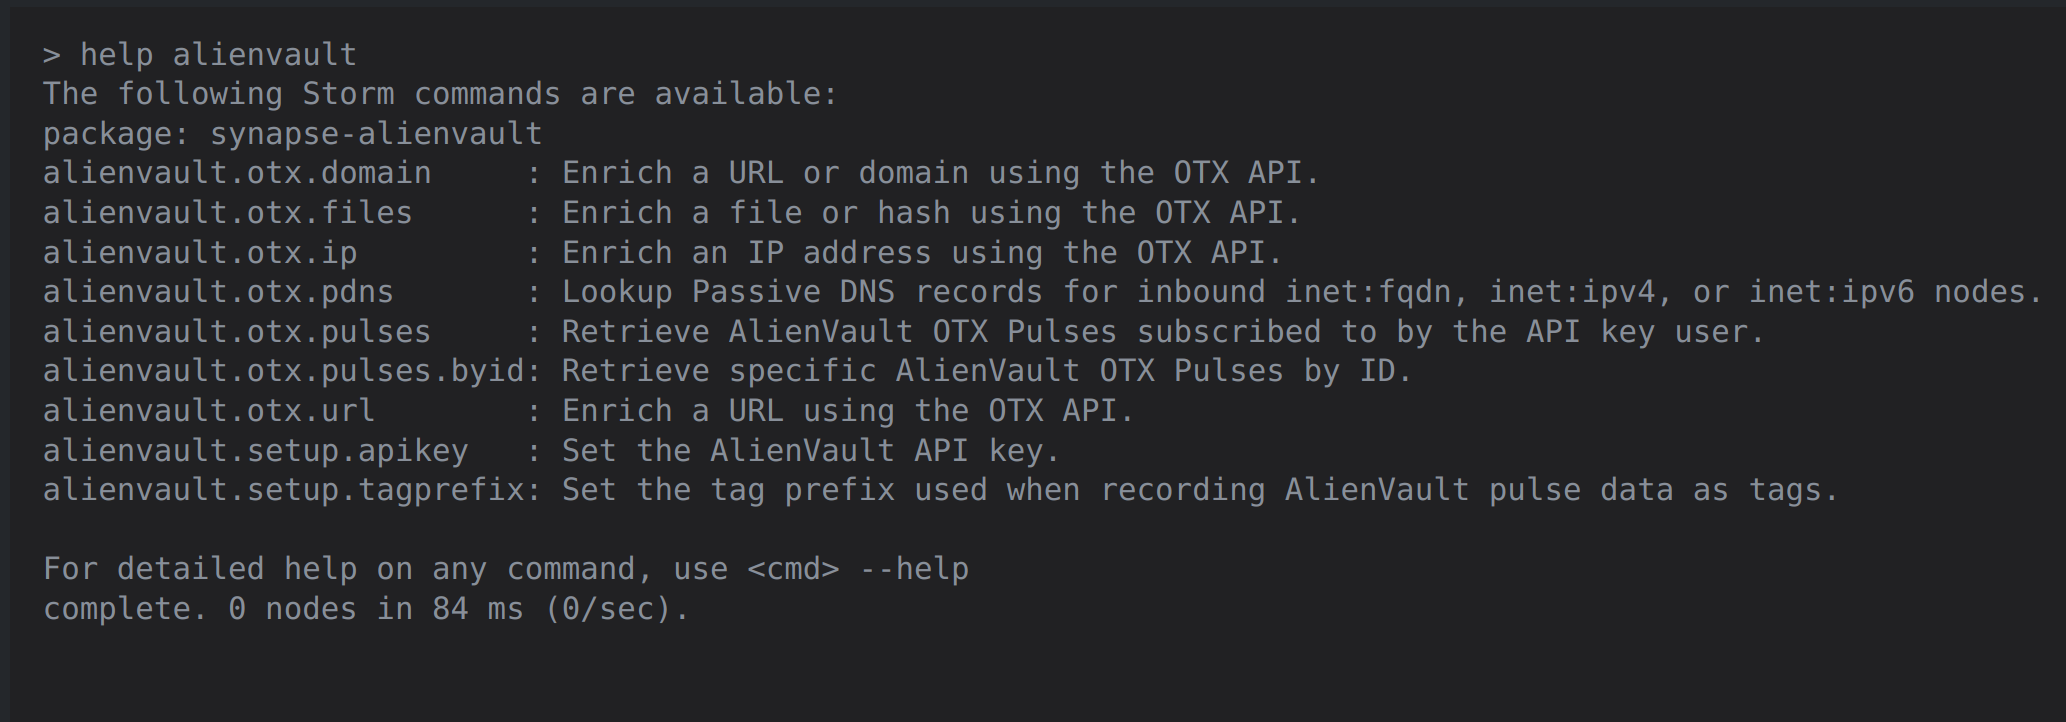
Another option for leveraging a Power-Up is by running its accompanying Storm commands in either the Research or Console Tool. We can view all available Storm commands for the Synapse-AlienVault Power-Up, for example, by running the following in the Console Tool Query Bar:
help alienvault
This will list all available Storm commands for the Synapse-AlienVault Power-Up and provide a brief description of what each command does:
Superpowering Your Analysis
The Synapse-AlienVault Power-Up is an example of one of the many Synapse Power-Ups that analysts can use to query external data sources and quickly and efficiently ingest the results of that query directly into their Synapse instance. Because the Power-Up models the resulting data for the user, the analyst does not need to worry about how to represent the results, but can immediately start pivoting through to identify additional data of interest and continue on in their investigation.
For more information about Synapse, Power-Ups, and other capabilities, feel free to request a Synapse demo instance, join our community Slack, and check out additional content and use cases on our YouTube channel.
